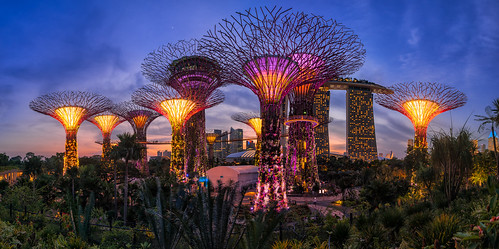
Super Trees at Gardens by the Bay, Singapore
To start things off, we need to understand why we take several exposures of the same scene. Bracketing is one way to do so as each exposure will expose each part of the photo correctly. The way I do this is by identifying the different elements of the photograph, which can be as simple as the sky and foreground, or can be more complex, like the highlights (as seen in this case).
So now we have imported the photos and we need to blend them together. There are many softwares out there that can help to merge the different exposures into a HDR image, like HDR Pro in Photoshop and Photomatix, but today we will focus on manual blending, or I would call it Dynamic Range Increase (DRI).
To begin, we open our photos as Layers into Photoshop, in this case, I am using Photoshop CS6. i rename my layers so I know which photo has which part of the image correctly exposed. Here, I have three photos, HIghlights, Sky and Foreground.

Now, we want to insert a layer mask to our Layer. What a layer mask does is to reveal when it is white, cover up when it is black. Varying shades of gray means that it will hide the current layer more when the intensity of the gray increase. Simply, the darker the layer mask, the less you get from the layer, the lighter it is the more of it you will see.
We select the Highlights layer to "reveal" the correctly exposed lights of the Supertrees. Click on the icon with rectangle and a circle inside it. This will give you a layer mask in the Highlights layer.


What has happened is that the Highlight layer is completely revealed as the layer mask is completely white. We only want to reveal the highlights, which are the lights of the trees. We need to change the layer mask to "Black" so their we can reveal the lights in by painting in with "White" with the brush tool. This is done by clicking on the layer mask, and press the Ctrl + I on the Windows (Cmd + I on a Mac) to invert the colour of the layer mask.


We can now reveal the lights of the left image, on to the properly exposed Sky layer on the right
Now, we take the brush tool and paint onto the layer mask (NOT the image itself). You should notice that the thumbnail has more white paint strokes on it as you reveal the highlights. You can explore with gradients, Luminosity Masks to help you to reveal specific areas in the photo where brushing it in is not as feasible. More information in the following tutorials!


Alt + Click on the thumbnail to reveal the entire layer mask
This is the final result of the layer masking, the unedited Sky Layer on the left and the Sky Layer with the Highlights revealed on the right.

Notice that how the Lights are now properly exposed in the left picture now. Keep adjusting the brush size, opacity of the brush to fine tune the amount to reveal so that the image will come out as natural as possible.
Now that we understand how the layers work, we can look into further details how we can improve our masking to make the transitional areas between the shapes smoother and more natural with luminosity masks in the following tutorials.
*HDR normally refers to an image whereby you will convert a series of the same photos of different exposures (bracketing) into a 32 bit image file which is then tone mapped with a software and you get to control the levels and curves of the final image so that the highlights and shadow areas of the image looks the way you want it to be. DRI, on the other hand, to me at least, is when one takes the different exposures and manually blend them with masks in any photo editing software, like what I have just shown you.
Both methods are as capable and good to know for the creating images whereby the details are preserved in both the highlights and shadows, but learning either method requires you to understand how the method works, the advantages and disadvantages of each method.


